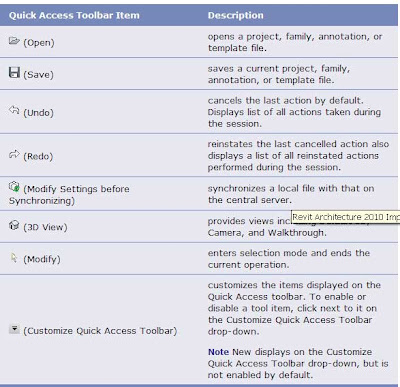
To undo or redo a series of operations, click the drop-down to the right of the Undo and Redo buttons. This displays the command history in a list. Starting with the most recent command, you can select any number of previous commands to include in the Undo or Redo operation.
The Quick Access toolbar can display below the ribbon. Click Show Below the Ribbon on the Customize Quick Access Toolbar to change the display setting.
While in an edit mode (such as Place a Wall), or the Family Editor, items that are added to the Quick Access toolbar from the Create, Modify, Group, Clipboard, or View Graphics panel persist on the toolbar for that mode. However, when you switch to another editing mode, these items do not display and need to be re-added to the Quick Access toolbar.

No comments:
Post a Comment